Posts

How to make a HDR picture with photoshop in one minute

In the latest versions of Adobe Lightroom and Photoshop it has become very easy to create a HDR picture from different images shot with different exposures (HDR Bracketing).

I will use 5 images I’ve shot a couple of years ago in the National Museum of History in Oxford with HDR Bracketing. If you want to learn how to take the images with the different exposures, take a look at our tutorial about HDR Bracketing.

Let me start by showing the result of the processing.
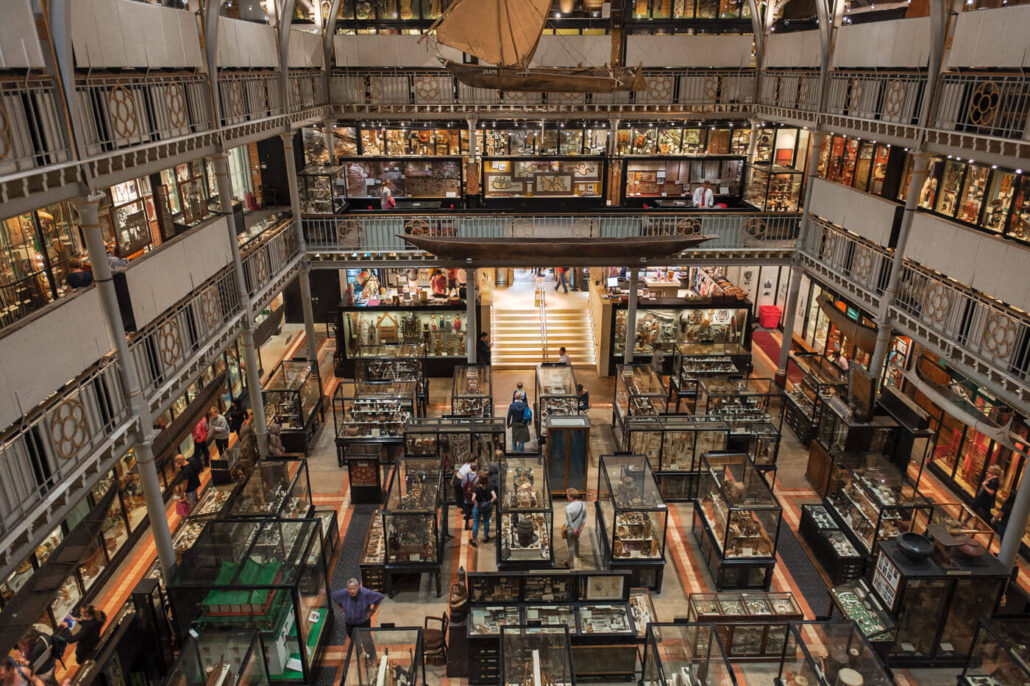
HDR image in the National Museum of History in Oxford

In this post and video, I will show you the easy steps to take to create a HDR picture in Photoshop. You can watch the video, or read the text, or both…

Here are the different steps:

  • Select your images with a different exposure from lightroom ( I usually take 5 images going from -2 ev to + 2 ev.
  • Select the 5 images, and in the develop mode, in the tab lens correction, I select “Remove Chromatic Abberation” and “Enable profile corrections”.
  • I go back to the library mode and with the five picture selected, I right-click one of the pictures.
  • Now I can select Photo Merge, HDR … but I won’t  select that because that is the HDR action of Lightroom and this video will show how to do it in Photoshop. So I click, Select “Edit in -> Merge to HDR pro in Photoshop”.
  • Photoshop will open up and start importing the 5 images from lightroom. Once imported Photoshop will align the image
  • A new screen will open and then this screen where you can set the white point (I usually set it to not blow out brightest part of the picture) and select remove ghosts (in this image some people were moving in between shots, so to remove that motion blur, I will select remove ghosts). The picture with the green rectangle will be used as a basis.
  • Next click OK and Photoshop will create the HDR. Once the processing finished, just save and close the picture. After saving the picture will appear in Adobe Lightroom, where you can adjust the picture to your liking.
  • Next step is to export the image and you have a beautiful HDR image.

I hope this was helpful to you, let me know in the comment and don’t forget to subscribe for more videos.
Drawing a hammer with basic shapes and tools – Adobe Illustrator Exercise Tutorial

How To Create Transparent Text Effect on an Image – Photoshop Tutorial

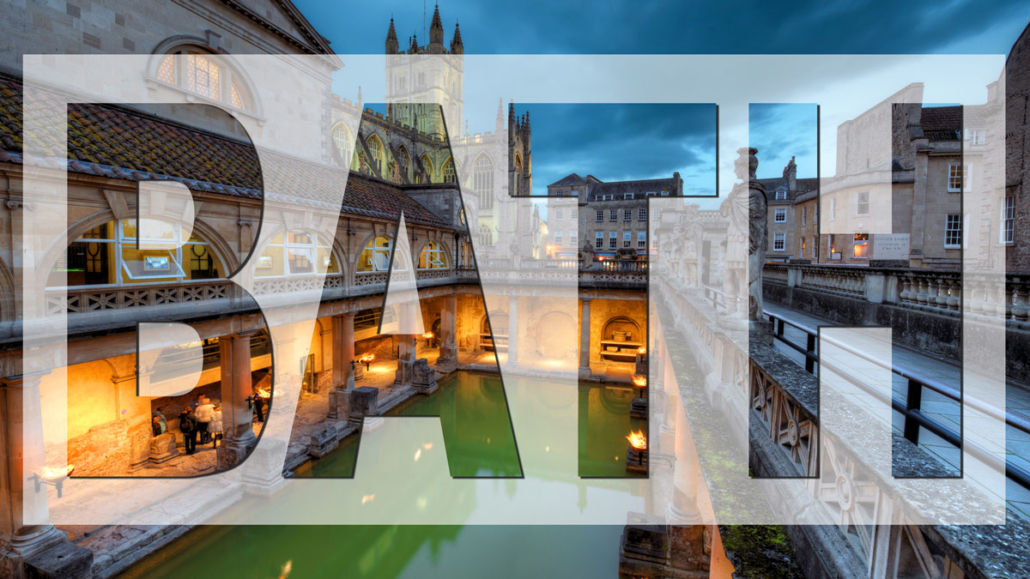
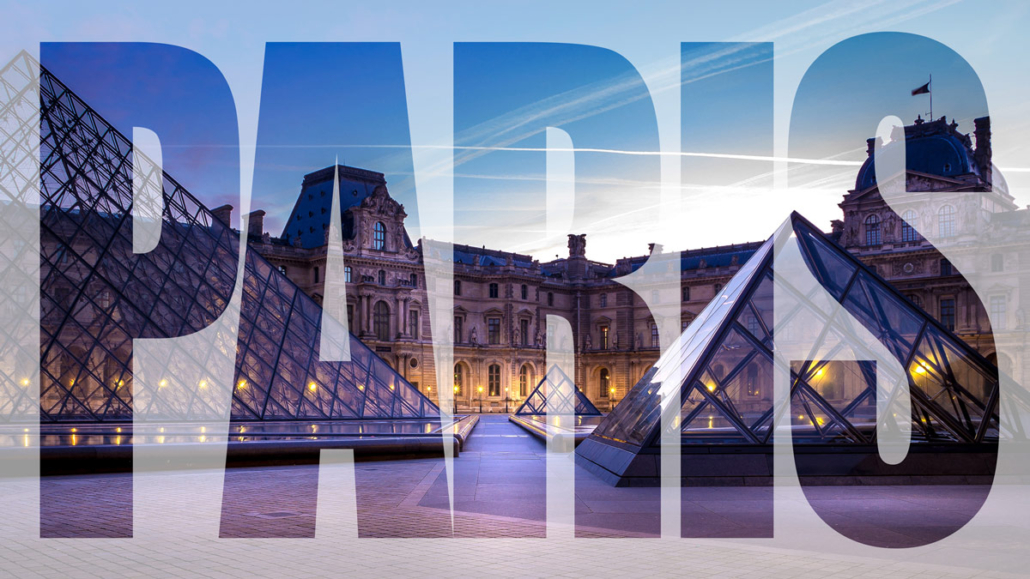
In this blogpost and video, I will show you how to do a text effect over an image, like on the pictures below.

how to create trannsparent text over picture in photoshop tutorial

I have created a video tutorial to show you about placing transparent text on an image in Photoshop.
When we place text on an image, and the text is difficult to read, readers may get forced to choose between straining their eyes and skipping over the content.
Rather than risking that users ignore your text, you can implement small changes to the design to increase the contrast between the text and the background.
So let me show you how to do this in photoshop in the video below:

If you prefer to read rather instead of watching the video, here are the different steps to take to create this transparent effect.

  • In Photoshop, we start by opening a new project, Select and add a background picture Or we start by opening an existing picture (here I will use an HDR picture)
  • Next, New layer, Fill that layer with white, Set the transparency to around 60-70
  • Next step is to add the text we want to put on top of the image, I select the text too and start typing your message, the text that goes on the picture.
  • We color the text black, and put in central in the frame with Ctrl-A, selecting align vertical and horizontal to the center, Ctrl-D to deselect
  • Next step is to group the text layer with the white layer, we cam hit Ctrl-G or Cmd G on a mac, or use the menu Layer, group layers
  • In the group we select the text layer and open the blending options by right-clicking. We are going to knockout the text by selecting shallow and we set the fill opacity to our liking, around 25-50%

The get more readablitity of the text and still remain a good view of the picture there are several options

  • Blur out the background a bit (with directional blur)
  • Make the white rectangle layer smaller so you can still see the image clearly, and read the text at the same time
  • Add a drop shadow to the text

Always pay attention, when you overlay text on an image, because you are sacrificing two things: Image clarity – Text readability

For example the picture of the parliament in Budapest, placing text on less complex areas of a photo will typically improve the readability, like we did with the picture here. Putting the text on the water, keeps the subject of the image, the building is still visible.

Adding a drop shadow or stroke effect to your text will help increase readability in photos with more complexity.

Try to play around with the text design and see what combination works best for your chosen image.

Good luck!

How I shoot and edit my handheld hyperlapse

In this blogpost and in the video I will show you how I shoot and edit my handheld hyperlapses. The last couple of weeks I have been experimenting on how to make a handheld hyperlapse videos. I have learned a lot and I will point out my biggest mistakes, so you will NOT have to make the same mistakes again.

How to use Auto Exposure Bracketing for HDR Photography

Making multiple pictures with different exposure levels is called exposure bracketing. Exposure Bracketing can be done manually and automatic depending on the possibilities of your camera. Almost all modern digital cameras have a feature called Auto Exposure Bracketing (AEB).