How to make a HDR picture with photoshop in one minute
In the latest versions of Adobe Lightroom and Photoshop it has become very easy to create a HDR picture from different images shot with different exposures (HDR Bracketing).
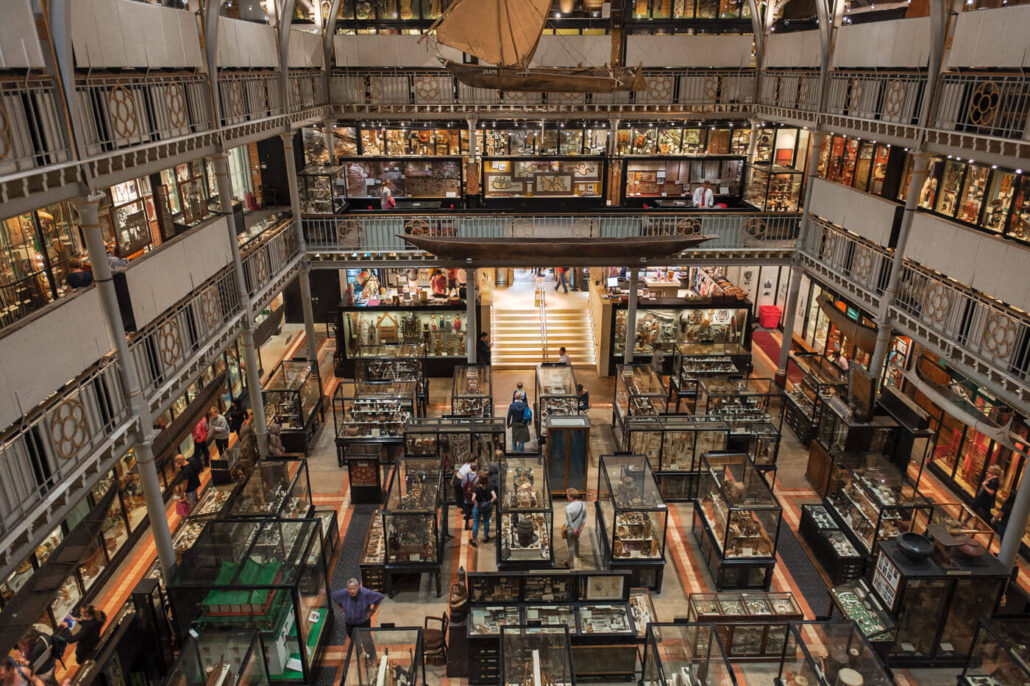
I will use 5 images I’ve shot a couple of years ago in the National Museum of History in Oxford with HDR Bracketing. If you want to learn how to take the images with the different exposures, take a look at our tutorial about HDR Bracketing.
Let me start by showing the result of the processing.

In this post and video, I will show you the easy steps to take to create a HDR picture in Photoshop. You can watch the video, or read the text, or both…
Here are the different steps:
- Select your images with a different exposure from lightroom ( I usually take 5 images going from -2 ev to + 2 ev.
- Select the 5 images, and in the develop mode, in the tab lens correction, I select “Remove Chromatic Abberation” and “Enable profile corrections”.
- I go back to the library mode and with the five picture selected, I right-click one of the pictures.
- Now I can select Photo Merge, HDR … but I won’t select that because that is the HDR action of Lightroom and this video will show how to do it in Photoshop. So I click, Select “Edit in -> Merge to HDR pro in Photoshop”.
- Photoshop will open up and start importing the 5 images from lightroom. Once imported Photoshop will align the image
- A new screen will open and then this screen where you can set the white point (I usually set it to not blow out brightest part of the picture) and select remove ghosts (in this image some people were moving in between shots, so to remove that motion blur, I will select remove ghosts). The picture with the green rectangle will be used as a basis.
- Next click OK and Photoshop will create the HDR. Once the processing finished, just save and close the picture. After saving the picture will appear in Adobe Lightroom, where you can adjust the picture to your liking.
- Next step is to export the image and you have a beautiful HDR image.
I hope this was helpful to you, let me know in the comment and don’t forget to subscribe for more videos.

